


🚘 Upgrade your ride’s command center—control meets convenience in one sleek interface!
The PAC SWI-RC1 is a universal steering wheel control interface designed to retain factory steering wheel functions when upgrading aftermarket radios. Compatible with over 3000 vehicles and major radio brands, it supports both analog and data-based SWC systems, offers easy DIP switch programming, customizable button functions, and provides a 2 amp 12V accessory output. This compact, easy-to-install module ensures seamless integration without sacrificing your vehicle’s original control experience.


| ASIN | B004HKBY8G |
| Best Sellers Rank | #13,334 in Automotive ( See Top 100 in Automotive ) #10 in Automotive Replacement Radio Electrical Accessories |
| Brand | PAC |
| Brand Name | PAC |
| Color | Blue |
| Customer Reviews | 4.0 out of 5 stars 3,644 Reviews |
| Display Type | No Display |
| Global Trade Identification Number | 00606523108843 |
| Included Components | product, manual |
| Item Type Name | install interface |
| Item Weight | 0.1 Kilograms |
| Manufacturer | pac |
| Material | Plastic |
| Material Type | Plastic |
| UPC | 606523108843 |
| Unit Count | 1.00 Count |
| Voltage | 12 Volts |
| Warranty Description | 1 year |
M**A
amazing adapter for a great price!
simple to install and allowed me to install alpine double din in my 17 Nissan frontier without a problem controls worked flawlessly and I was able to do the program manually. Its not too bulky and fits behind pretty much any radio. would recommend to anyone looking for affordable module that can adapt to multiple vehicles without spending a fortune.
Q**Z
pulling the factory radio is pretty easy, you just use the trim removal tool ...
I fitted into my 2013 Dodge GrandCaravan and also added a rear view camera! Everything works exceptionally well including the factory steering wheel control I am now Wazing and enjoying my music in my car!! here are my parts used (sorry, being a new user means I can't post any links) 0: Atoto A6 2GB/32GB Unit -- 1. Steering wheel control -- 2. Rear View Camera -- 3. Dodge Installation Trim Kit including Antenna adapter 4. Soldering iron and solder 5. PAC Radio Replacement Interface -- 6. Trim Panel removal tool -- 7. Dremel tool set (You need some cutting) -- 8. Wire stripper -- 9. Multi meter -- 10. Electrical tape -- 11. 3.5MM jack to three pin connector, (look for it in Radio Shack) Now, get to installation, 1. pulling the factory radio is pretty easy, you just use the trim removal tool to get the radio panel off and then unscrew the four screws holding the radio in place. Once remove the screws, gently pull the radio out and disconnect the factory harness and radio connector, the radio connector is pretty fragile, be careful not to break it... 2. Connect the harnesses, open the PAC harness package, you need to determine which harness to use, for my car, it was the one with slightly bigger connector, try it on the factor harness first. Then lay down the color/wire mapping on your desk and start connecting the wires, PAC did not actually strip the wires so you need to do it, after strip the wires, gently twist so they connect better, then chris cross on with the ATOTO wires and solder the wires on, I like to put my soldering gun under the wire to heat them up and let them soak the solder rather than melt the solder using the iron, better conenction.. After solder, use tape to mask up the bare wires, you will connect all wires except three, the thin Ground wire, KEY 1, and KEY, go ahead and cover up KEY 1, you dont need that . Like picture 1 3. Wrap the harness, go ahead and wrap the harness so the wires dont go crazy 4. Install Steering wheel control (optional), open the PAC SWI unit package, and turn the dial to 7 before you do anything else, TURN THE DIAL TO 7 first. Then connect the 7pin connector (white) comes out from your PAC interface to your SWI unit, go to your vehicle, connect to factory harness and follow instructions from PAC (every car is different, you need to follow the factory instructions) and program it, then use the multiulmeter to find the pins output the resistive differences (this is a bit tricky, my suggestion is to solder wires to each pins on the 3.5mm connector (see pic 2) and then use your multi meter find which two wires output resistive values when you press a button) after you find the two wires, connect them to thin black ground wire and KEY wire (NOT KEY1), and then fire up the ATOTO unit and go to DEFAULT SETTINGS -- STEERING WHEEL CONTROL and see if it registers the presses, if not, swap the wires (because there is no clear way to tell which one is ground...) after you confirm its working, solder the KEY and ground wire 5. Placing the antennas, place them anywhere you like, even including inside the radio hole, but I went ahead and place the antennas across the trim and near the wind shield on the driver side so they get better reception. 6. Actually installation, because ATOTO is slightly higher than stock unit you need to do a bit cutting, first cut the TRIM Kit side panel about 2mm from both sides, then use Dremel to trim down the top and bottom notch of the stock Trim piece or until it fits 7. Back up camera is also fairly easy, hook it up with the reverse light and tuck the cable under the trim and you are good to go Hope it is helpful, please leave me a message if you need any help!
G**S
Installed in my 2006 Honda pilot, works awesome
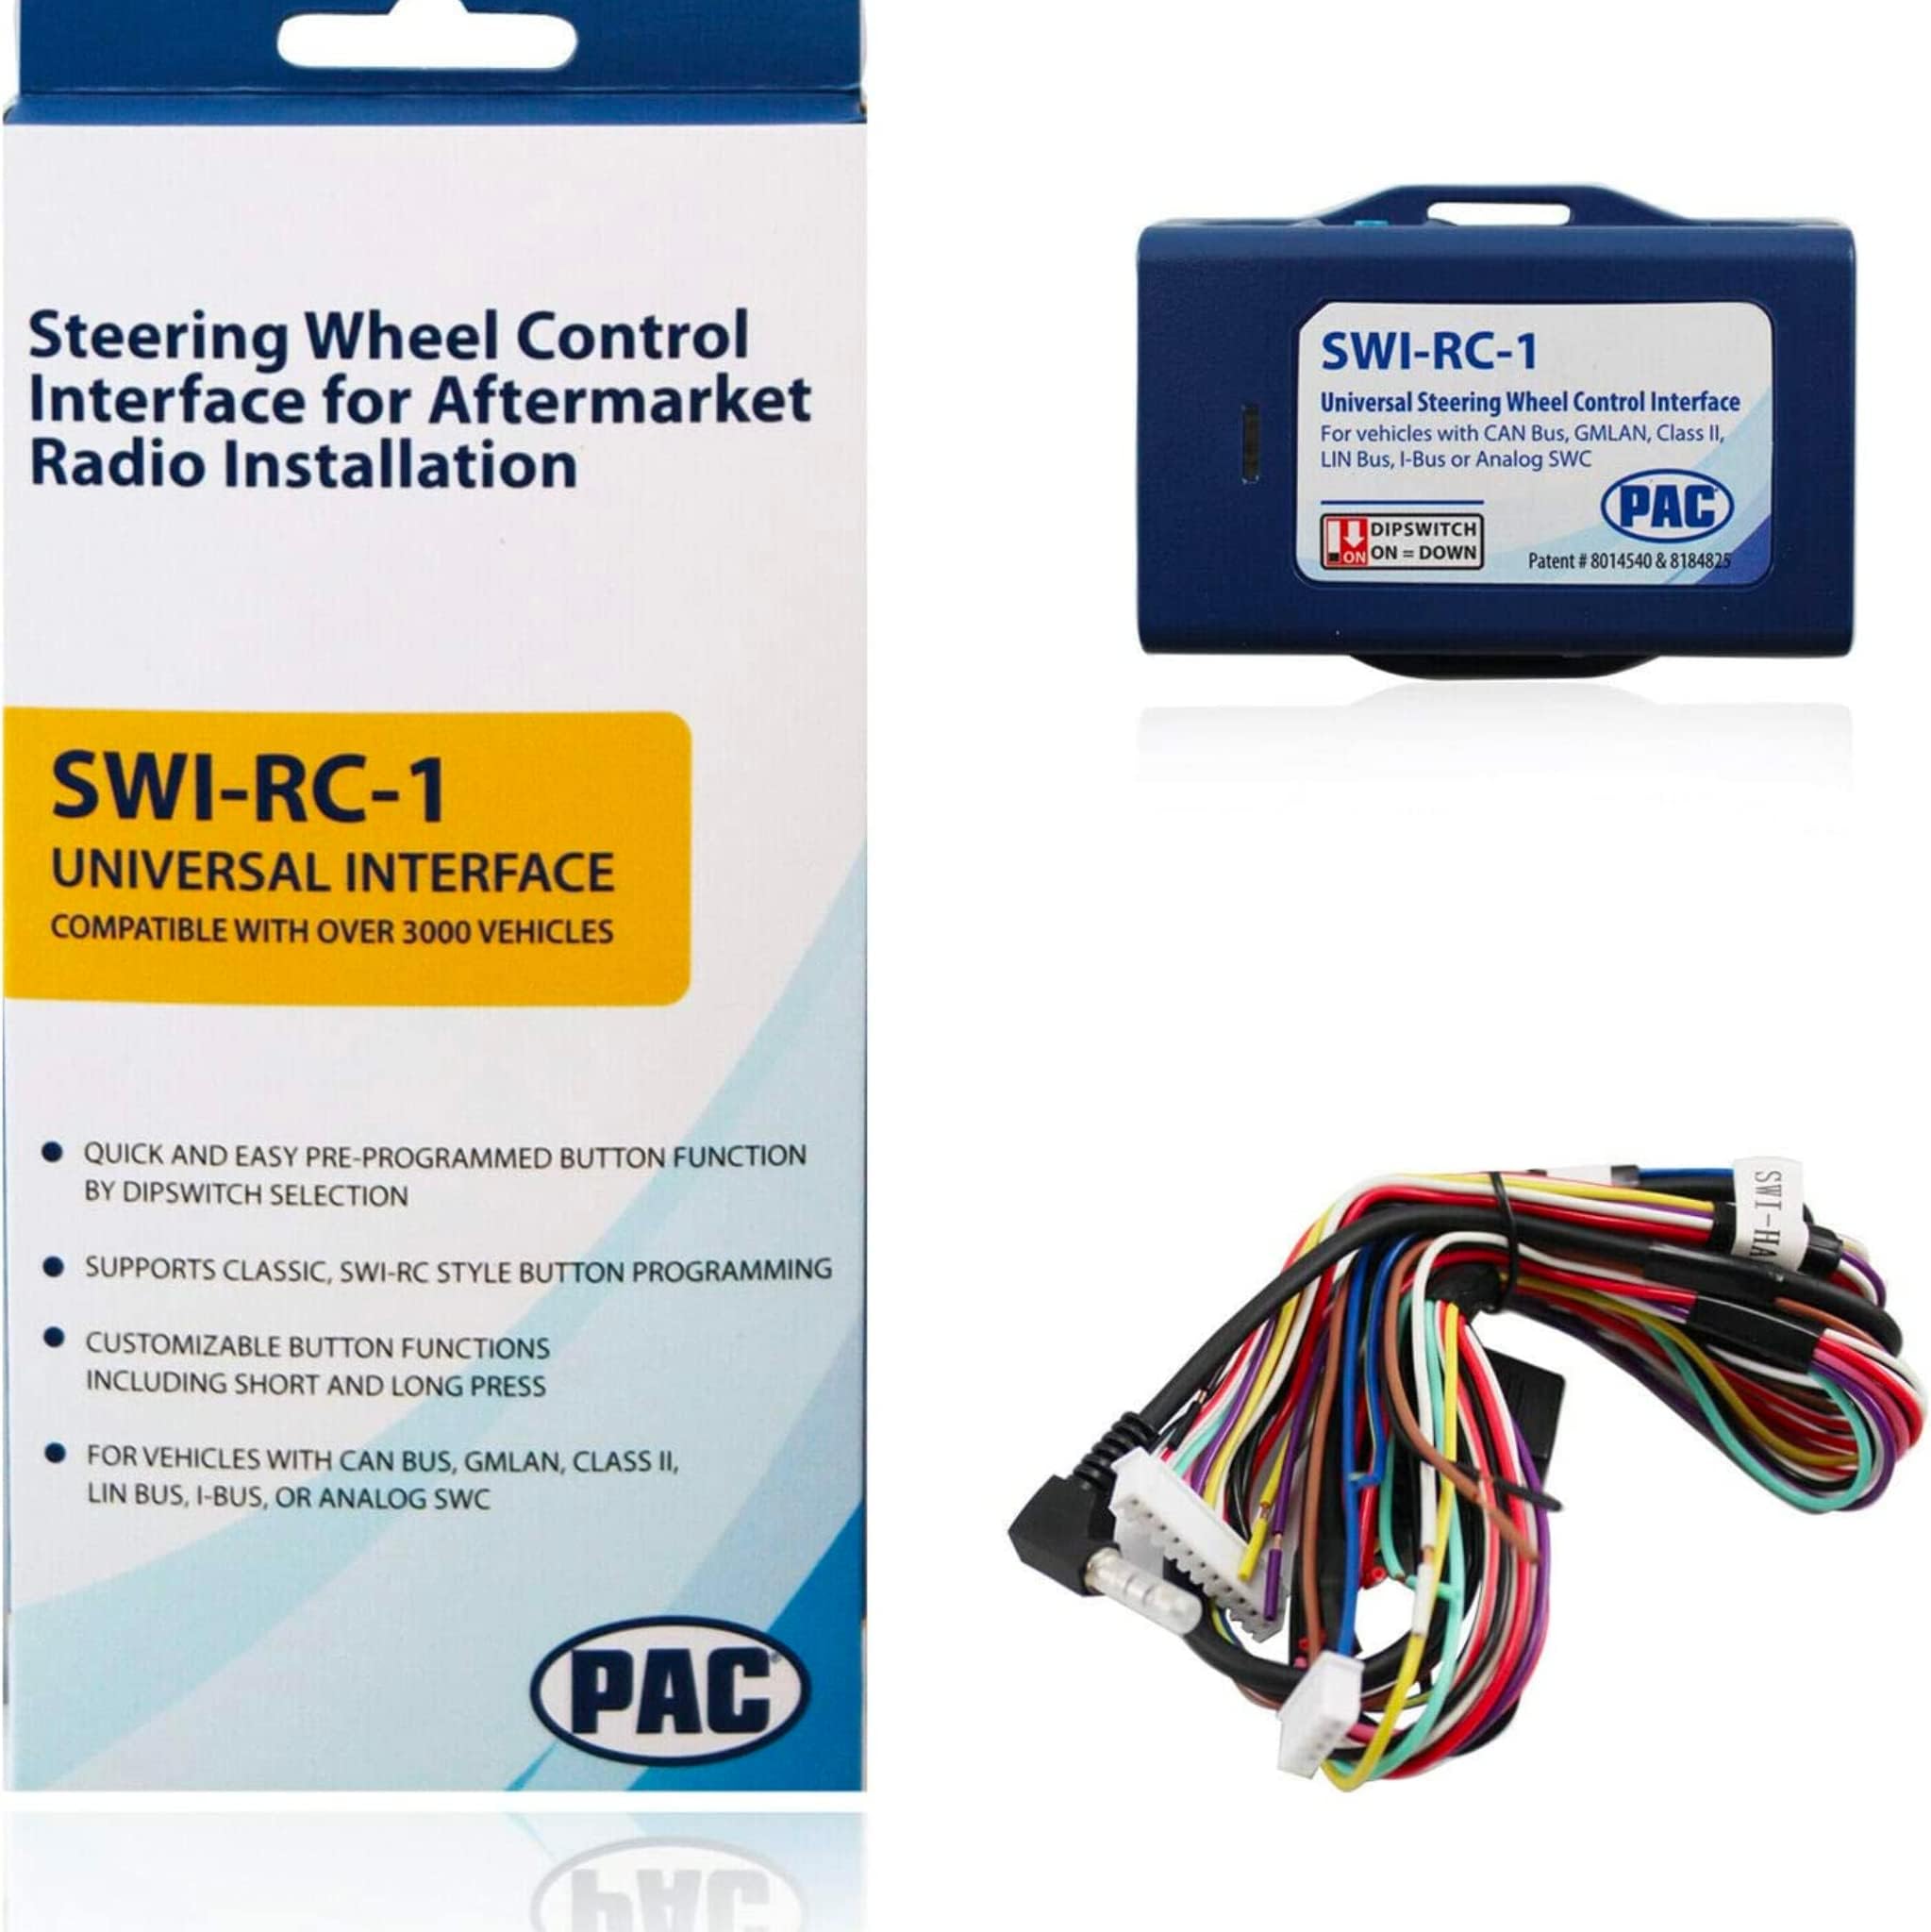
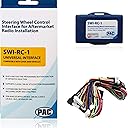
Installed this in my 2006 Honda Pilot with a PIONEER AVH-X2800BS. I have some tips for people installing this. For the resistor: The 560 ohm resistor that you will be using ( from left to right) colored stripes are Green, Blue, Brown, Gold. The resistor can be installed either way (doesn't matter which end of the wire goes to which. You will be cutting the purple wire loop. The wire that is closest to the end of the plug will NOT be used. Simply tape it up using electric tape.The other purple wire that was cut, which is 2nd in line of the plug will be connected to one end of the resistor and then the other end of the resistor will be connected to the white/black wire (this wire is pretty much spliced into the white wire. They do this for easy to follow instructions). Programming the buttons are a little confusing in the instructions. Just fyi, I programmed mine to the exact name of the OEM steering wheel controls. After you program the version (i put those instructions below), you can pretty much start programming. For assurance, you can simply turn off your car, then put it back to ACCESSORY just to see if the version entered was correct. The first blinks should be 9 blinks for the 2006 Honda Pilot. After the blinks you can now enter the programming mode by pressing and releasing the programming button. The light SHOULD stay on. This means it is ready to learn (DO NOT press the program button unless you want to skip a function). If you wait too long, the LED will blink and then blink 9 times and it will end, so try to do this with a few seconds of each other. Here is the function list in order of the programming: Functions 1 Volume Up 2 Volume Down 3 Mute 4 Preset + 5 Preset - 6 Source 7 Track Up 8 Track Down 9 Band 10 Phone Menu 11 Answer Call 12 End Call 13 Voice Activation To program to factory specs like I did for the Pioneer head unit, press and hold the VOLUME UP button on steering wheel for 1 second, release, then move on to the next function by holding the VOLUME DOWN button for 1 second, release, I skipped the Mute by pressing the program button once, I skipped the Preset + button by pressing the program button once, I skipped the Preset - button by pressing the program button once, I pressed the MODE button for 1 second, release, I pressed the CH button for 1 second, release, then i skipped the rest by pressing the program button 6 times....basically to skip a function keep pressing the program button IN ORDER. Now the LED will blink, and then blink 9x. To test, just plug in the 3.5mm cord to the back of the Headunit. Mine was marked "W/R" for wireless remote. If one of the functions did not work, you will have to start all over. I turned off the key, unplugged the 3.5mm plug and started over because I missed a function. Please give my review a like if you found this helpful!!! Here is the FULL instructions from the site: Quick description before we start wiring the SWI-RC. INFO THAT FOLLOWS IS FOR OPTION BASE RADIO. The SWI-RC's wire color we are going to use is white. This is the white wire on the SWI-RC product, not the vehicle! The other wires on the SWI-RC product (green, yellow, orange and blue) are NOT used for your 2006 HONDA Pilot. This leaves you with a red, black and two loop wires. These wires will be discussed down below. Picture of the 2006 HONDA Pilot plug. HONDA20 The vehicle's factory harness connector is viewed from the pin side not wire side. Fig. 1 Connecting the SWI-RC's steering wheel control input wire to vehicle plug. Read the note in the chart below. Connect the SWI-RC's white wire to Pin 3 (green/red) of the above connector. Note ID#143 Connect the INTERFACE's white wire to Pin 3 (Green/Red) of the Honda20 connector. Connect Pin 11 (Brown) of the Honda20 connector to ground. Cut the purple loop then connect a 560 Ohm resistor to the second (inside) Purple wire, and connect the other end of resistor to the White wire. Insulate the first (outside edge) Purple wire as it will not be used. Connecting power and ground wires. BLACK WIRE: Connect the SWI-RC's black wire to chassis ground. This is usually a black wire on the aftermarket wire kit. RED WIRE: Connect the SWI-RC's red wire to a switched +12volt wire. This is usually a red wire on the aftermarket wire kit. Instructions for cutting or not cutting loop wires. Cut the purple loop wire in half and insulate both ends (unless stated different previously). The brown loop wire does NOT need to be cut (unless stated different previously). Setting the radio select rotary switch. The rotary switch needs to be set to position # 7 . Please note that it is very important to set the radio select switch before turning on the ignition to begin programming! Programming the SWI-RC with a version number. The SWI-RC has to be programmed for version #9. Press and hold the Program Button on the SWI-RC while turning on the vehicle to the accessory position. The LED will turn on. Release the Program Button and the LED will turn off. Press the Program Button 9 times. Each time you press and release the Program Button, the LED will turn on and off. Once you press the Program Button 9 times, wait for 3 seconds. The LED will flash 9 times indicating it is programmed for version 9. If it flashes the wrong version number, you will have to start all over at step 1 above in this section. Turn the key off. Once you have programmed the correct version number, you will not have to do these steps again. If you need to reprogram the steering wheel control, you can go directly to the next section. Programming the SWI-RC to learn steering wheel control functions. Turn the key to the accessory position (you do not need to hold the Program Button at this time). The LED will flash 9 times. This indicates it is programmed for version 9. Press the Program Button until the LED turns on, then release the button (This will erase all previous learned steering wheel control functions). The SWI-RC is now ready to learn a command from the steering wheel. The SWI-RC must be programmed in the specific order shown in the chart below. If a function is not needed, it may be skipped. Programming order for SWI-RC Pioneer 1 Volume Up 2 Volume Down 3 Mute 4 Preset + 5 Preset - 6 Source 7 Track Up 8 Track Down 9 Band 10 Phone Menu 11 Answer Call 12 End Call 13 Voice Activation With the LED on, press your steering wheel button until the light goes out and hold for one second more. Release and the LED should come back on. If it does not please double check all connections and verify for correct version programming. Repeat steps 4 and 5 to program additional steering wheel buttons in the order corresponding to the chart above for your SWI interface. If you come across a command in the chart that your steering wheel does not have, or you do not want to program, press the Program Button on the side of the SWI interface. The LED will flash once rapidly and then stay on confirming that you have successfully skipped that command and are ready for the next button. When you are done programming all the buttons, wait for about 7 seconds. The LED will flash 3 times indicating it is done programming. The LED will then flash 9 times indicating the version number. Testing the SWI-RC. Connect the plug to back of radio's steering wheel input jack or harness. With the vehicle on, press a steering wheel button to control the stereo. The SWI-RC should control the aftermarket stereo with the function you taught it. Test all other buttons. If the interface does not control the radio as the steering wheel indicates, the buttons were either pressed in the wrong order or a step was not skipped properly. Return to category 7 and reprogram. Make sure all unused wires are isolated separately. After all commands are verified to work properly, secure the SWI interface so that tension will not pull either of the connectors loose or apart. That's it! Enjoy!
A**E
Full/midsized gm trucks, Atoto unit. *long post* useful info
I brought 3 of these. The first one i received did not work and had the smell of being burnt coming out of the box. Instructions are completely vague and totally useless for any full sized General Motors truck from 99-2002. This section is for all the gmt400 folks who do the UK3 steering wheel control upgrades using buttons from Bravada,Blazer, Jimmy, S-10, Yukon Denali and Escalade. Or If you own a 99-2002 Bravada, Blazer, Jimmy, S10, Yukon Denali, Escalade with Factory UK3 steering wheel controls This unit can work but not with the given instructions from the website. If you want this unit to work properly when you go on the website and set the vehicle for a 1994-1996 Oldsmobile nintey eight or Eighty eight. Both of these vehicles had factory steering wheel controls. The Dipswitch setting for the 8 switch location is absolutely WRONG. The unit will not recognize the button inputs. What I did was set my Dipswitches as if it was in a 1996 Oldsmobile Nintey eight and finally I saw results. The Dipswitch setting they recommend for all the full and midsized trucks is 1 down, 2 up, 3 up, 4 down, 5 up, 6 down ,7 up, 8 up. You will not get results with this. Or at least I did not. I used the Oldsmobile set up which was 1 up, 2 3 4 down, 5 up, 6 down, 7 8 up. This section is for all with an Atoto A6, a6 pro and probably just about any Atoto Android radio. The Dip switch section here is also wrong on the website. This is a 4 switch section that is to pair with whatever radio you are using. For atoto the Dipswitch setting on the website reads out 1 up 2, down, 3 down, 4 up. THIS IS WRONG!. In fact so wrong that the unit does not even recognize input from and of your buttons. The red led light will not turn green confirming that it recognized any inputs from your steering wheel controls. I got mine to work using the Dipswitch settings of 1 2 3 down, 4 up. As stated by PAC This setting is most commonly used by pioneer units. On the Wiring harnesses there are no instructions out of the box that will tell you what wire does what. The website does give you most of what's important such as ground, 12v accessory and 12 v analog (positive wire from your steering wheel control) but that harness has like 12 or 13 other wires so your kind of left with confusion for a bit. Hooking this up to an Atoto unit The other wire harness has a 4 wire harness with a blue/yellow wire, Brown wire, a ground, and a 3.5 mm jack. That 3.5 mm jack is useless, even though I've seen a video on YouTube pairing this unit with an Atoto a6 and the guy states that the 3.5 mm jack is all you need 🤦🏾♂️. I've left several questions on said video about how it was hooked up but no answers of course. You will take the blue/yellow wire, brown wire, and connect them. Now from the atoto radio you will have a brown steering key #(+) and orange with black stripe Steering wheel key (+) connect those together. Now you will take all four of those wires and connect them together and it should work. Again the website tells you none of this and I had to spend hours finding out for myself. I have noticed it works but is very laggy. The unit recognizes the input and will turn green as the buttons are pressed but it doesn't do that great of a job communicating with the radio. This is the first interface I have ever used so I cannot compare it to others, but I will say if you have the extra money get a few universal interfaces and see what works best for you. Or at least use one that has clear correct instructions. I'm not displeased with the interface nor am I completely satisfied. But I am displeased at the blatant wrong information being put out on their website. I was told "Pac" was top teir when it came to this kind of stuff but obviously they missed their mark on this one. Sorry for the long review but if I can help someone out then all this time spent was worth it.
A**R
works fine
works fine
H**D
but I would like to attempt to explain it in more detail
A previous reviewer hinted at how to connect this device, the PAC SWI-RC Steering Wheel Control Interface, for use with the ALLOMN Universal Car DVD GPS Player Steering Wheel Wireless Remote Controller, ALLOMN...
Q**O
Works in the end, but is it worth it?
Does it work? Yes. Does it work well? Well enough. Installed in a 2001 Infiniti QX4 (identical to installation in 2002-2003 Nissan Pathfinder) with a JVC stereo while retaining the stock Bose amp and speakers (another device is required to do that, but nothing to do with this piece). However... installation is a serious hassle. A hassle to the point that I almost did not install it in the end. The SWI-RC is the catchall of steering wheel control interfaces. It works with the most cars and the most stereos. A great feature to boast in theory, but in actuality that made it even more difficult to install. The included instructions were horrible, but the ones on their website were better. So this thing came with a bag of resistors which were absolute garbage with brittle wires that broke easily. That was ok, I was able to replace them with ones from work (I work for a company that builds electrical harnesses). By the way, if you need to replace the resistors in this package, use 1/4 watt resistors spread out about 200 ohms apart, but don't exceed 2k ohms. 1/4 watt resistors per PAC, this is not documented anywhere. One of their technicians verified this for me when I called them. Unfortunately, since this harness is built for such a universal fit, it's basically just a bunch of wires and you have to splice the appropriate wires (outlined in the pages of documentation) for your car and stereo combination. I decided it wasn't worth it to me to slice up my car's wiring, so I built a harness that fit my needs using the connector out of the back of my old stereo (like I said, the company I work for blah blah blah). Without doing that, I would have never installed this. Once it was installed, programming was quite easy and it works fine (most of the time). For that reason, unless you have some experience installing car stereos, building wire harnesses, soldering, etc., try to find one specific for your vehicle. Use this one as a last resort.
J**.
Simple installation, love my steering wheel buttons
Already had a Kenwood stereo in a Subaru Forester but the steering wheel buttons were not hooked up. Kinda annoying so I looked into it, this item was recommended. Fairly simple installation, would definitely be easier to do at the same time as a stereo replacement. One note, I was upset it didn't work after installing. LED was responding on the module, but nothing was happening. Double checked my connections to no avail. Turned out I had to turn remote control "ON" in the radio settings. All the buttons do what they're supposed to, no programming required.
Trustpilot
1 week ago
3 weeks ago