
Desert Online General Trading LLC
Dubai, United Arab Emirates
Desert Online General Trading LLC
Dubai, United Arab Emirates


💻 Cool Your CPU, Elevate Your Game!
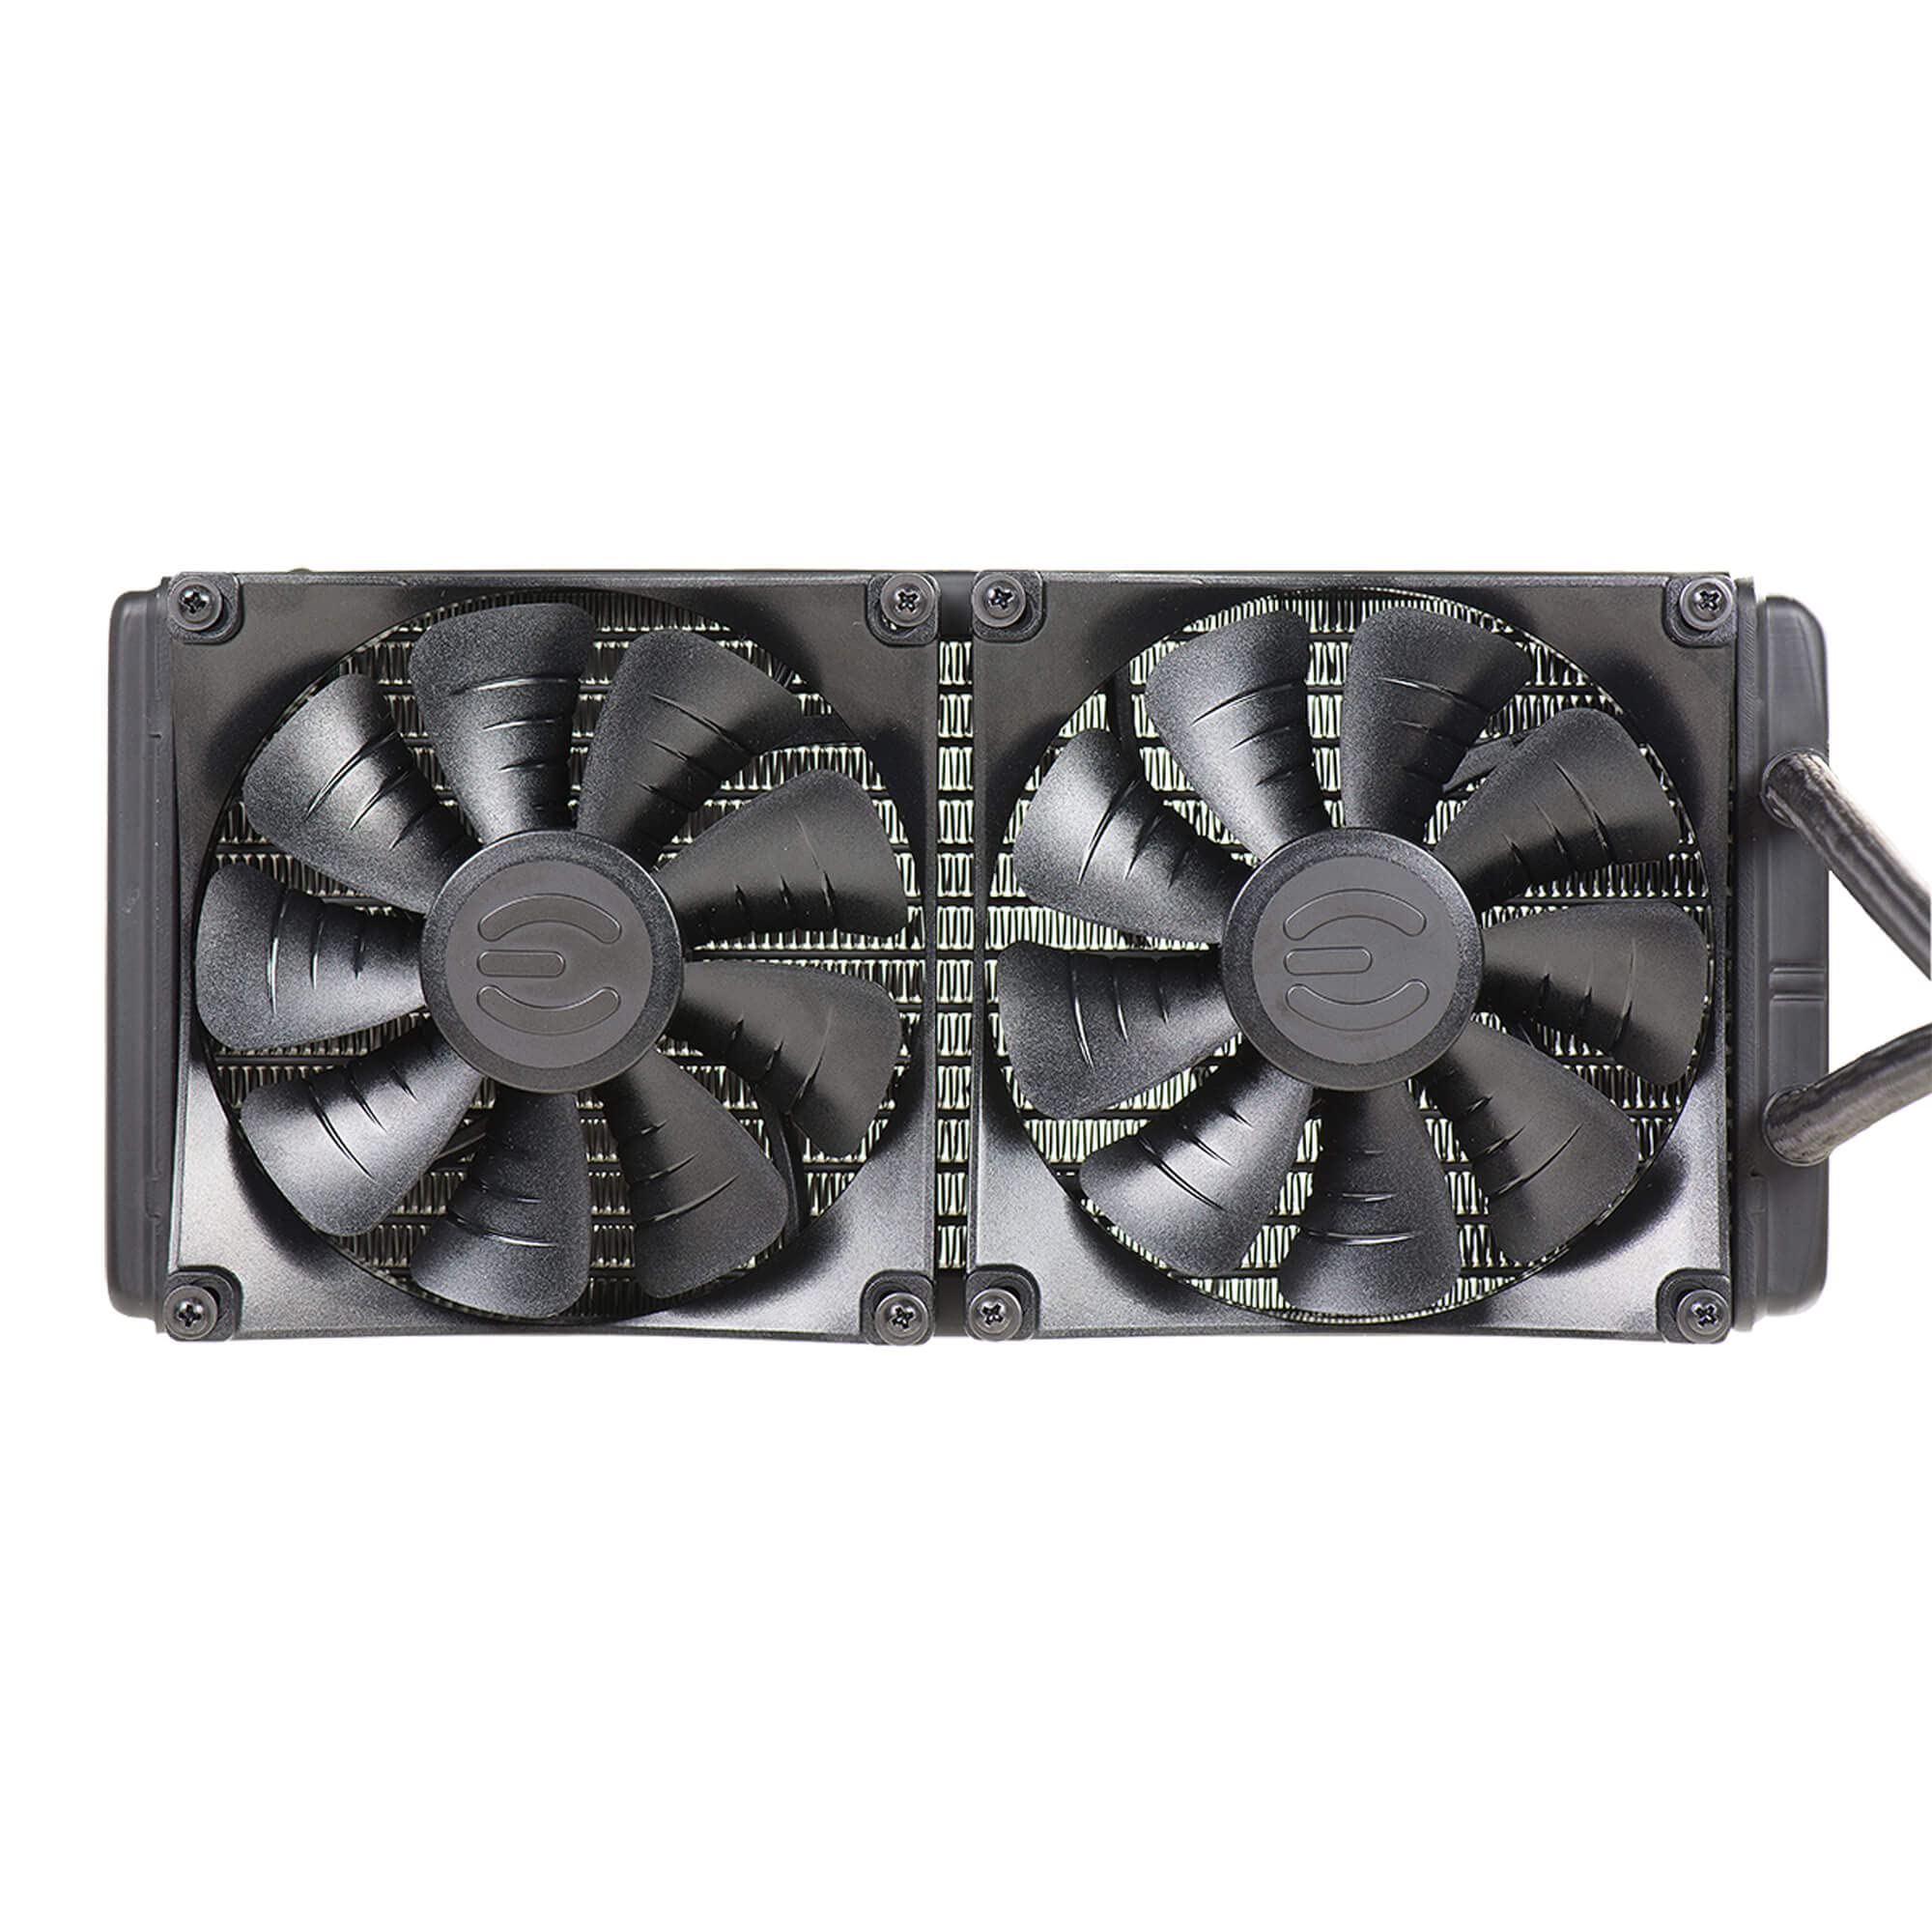
The EVGA CLC 280mm All-In-One RGB LED CPU Liquid Cooler is engineered for high-performance cooling, featuring a dual fan radiator and whisper-quiet operation. Compatible with a wide range of Intel and AMD sockets, it offers customizable RGB lighting and is backed by a 5-year warranty, making it a reliable choice for gamers and professionals alike.
| Brand | EVGA |
| Product Dimensions | 17.78 x 35.56 x 19.56 cm; 1.18 kg |
| Item model number | 400-HY-CL28-V1 |
| Manufacturer | EVGA |
| Voltage | 12 Volts |
| Wattage | 125 |
| Are Batteries Included | No |
| Item Weight | 1.18 Kilograms |
M**N
Great product worth the amount paid
Best Cpu cooler so far im using this almost for 8 to 9 hours gaming and it gives the cpu a great cooling temperature doesnt goes above 50°C while extreme gaming at high performance
S**.
Good AIO
Nice aio. Good preformance. Great look. The only downside is the fans little loud underload.
P**S
Amazing cooler for an olde i7 920
I really love this cooler, sad to see EVGA slimming down on products but it's understandable. This cooler is fantastic for a good albeit fairly basic AIO liquid cooler. My i7 920 used to hit 70s and even from time to time hit low 80s which is close to thermal shutdown range, with this cooler it is designed to keep temps below 70 using the stock fan. It has a connector for a secondary fan which I mounted on the side to pull more inside the case. They do get loud at 100% fan speed but you already know. The EVGA logo has a nice led, sadly my entire system is fairly .... not very new, so I can't change the color spectrum to anything other than default random color. It's bright but not too bright, the cooler runs great at stock 2.67ghz and keeps things just as chilly when I oc my chip to 3.4ghz.Wish I could buy a new EVGA graphics card whenever I get a chance to upgrade/replace this system but sadly..... not possible any more. If you need a good AIO cooler this is definitely a fantastic option, just be sure to follow the install instructions even though they look wrong. The backplate is designed to go side-to-side even though it looks like it needs to be vertical, don't put it in vertical or you'll short the board and won't boot. Turn it horizontal and things work perfect, default stock thermal paste is plenty good on the block, pump isn't loud at all.I love EVGA products, highly recommend them. Top tier quality at affordable pricing
A**7
Excelente producto
Para mi primer pc ha quedado de maravilla
J**O
Cumple con su función y no decepciona.
Lo tengo funcionando desde el primer día con un i9-10900K y las temperaturas se mantienen estables aún después de varias horas de juego donde se le demanda poder al procesador.
J**B
Perfect for your Alienware Aurora R12
This is actually an Asetek product. Asetek has been Alienware's supplier of closed loop liquid coolers for well over 10 years now. Perfect for your new Alienware as it is the exact cooler offered from the factory. Save yourself over $150 and add this must-have option yourself. For easy installation, follow my steps!note: I also ordered Noctua thermal compound. this is a good idea, as the Aurora chassis generates a lot of ambient heat inside of the case, which could shorten the life and effectiveness of a lesser thermal compound. Of course the supplied thermal compound is sufficient and hassle free, so pick whichever you prefer.1. Remove case side panel and top cover. Remove top cover by gently prying one of the corners of the top shroud, with your fingernail. this will remove somewhat easily, and dont worry about breaking it, its very sturdy and designed for removal this way.2. Remove the stock Air CPU cooler. remove cable from motherboard, and remove the 4 screws on each corner of the air cooler, loosening screws evenly until fully unscrewed.3. clean off the old thermal compound from the IHS (internal heat spreader i.e. top of your processor). rubbing alcohol and several q-tips makes cleaning a breeze. be sure to remove all compound and residue for best thermal contact with zero air bubbles.4. remove top-fan. remove the 2 screws on either side of the fan bracket on the top of the interior of the case. once the fan assembly is removed, cut the rubber pins out and remove them entirely. this can be done with scissors, a utility knife, or simply by pulling on them until they break apart.5. take your new Asetek (uhh I mean, EVGA) liquid cooler, from the box, remove the plastic cover from the waterblock assembly, and remove the thermal compound from the copper plate. Be careful not to scratch or score the copper, as it is important to remain as flat as possible to avoid any air pockets. Take q-tips and rubbing alcohol to remove stock compound, making sure not to leave any fibres from the q tip behind. blow them off, do not touch copper with your finger. NOTE: if you are using the already applied thermal compound, of course skip this step.6. if you have removed the compound and are using your own, place plastic cover back onto the underside of the waterblock. this will protect the copper from damage during installation.7. install the radiator to the top of the case, placing the water hoses to the RIGHT. Lay your case on its side, and hold the radiator from inside, while you screw in radiator from the top. there are 4 screws clearly marked on the top of the exterior of the case.8. Once the radiator is installed, take the mounting bracket for the waterblock and install it to the waterblock. Place the bracket on the underside of the block, and turn it until it locks into place. NOTE: this is where you can choose the orientation of the block. I have mine slightly angled for aesthetics and less stress on the hoses.9. Once the locking bracket is installed on the block, leave the waterblock covered, and off to the side. Place thermal compound onto the IHS of the CPU ( compound bead should be about the size of a grain of rice. the more, can mean the messier, and not necessarily help performance.)10. Place water block onto the 4 standoff points of the motherboard surrounding the CPU, you will see 4 of them in the shape of a square. Place the waterblock on the standoffs matching with your chosen block orientation and screw-holes on the bracket, to the standoffs on the motherboard. Screw them in with the supplied thumb-screws. Once all 4 thumb-screws are hand-tightened, gently fasten them with a screw driver, applying even and gentle pressure. Do not overtighten! very slightly over hand tightened is all we want.11. Install the top fan onto the underside of the radiator in the case. Make sure that the fan sticker, is facing the direction you want your air to flow. in this case we want the air exhausting up and out, so place the fan sticker, hidden side up facing the radiator, this direction will pull air out of the case. Install the 4 long screws, fastening the fan to the top - mounted radiator. You can move the water hoses around to make using your screw driver easier, fastening the 4 screws.12. plug in your fan connector as well as your CPU block to the marked connectors on the motherboard. these are marked TOP FAN and CPUThere you have it, I hope this helped as the instructions supplied in the box were somewhat vague. I have owned several closed loop coolers from my builds over the years and each seem to have loose directions, so im not docking any points for that one.FINAL NOTE: I opted to use the factory DELL fan for the top fan cooling my radiator. this is because the fan supplied with the cooler, runs at 100% due to DELLS ALIENFX Software. This is fine, if you want maximum cooling performance, it works well as I tried it with the EVGA fan and saw load temps as low as 39 degrees C running Blender. Finally I opted to go with the DELL fan as it works with AlienFX and its automatically controlled, no longer running at 100%.
A**A
Muito bom produto
Ele está esfriando com eficiencia um ryzen 9 5900x. Compraria novamente
Trustpilot
3 weeks ago
1 week ago