We remain fully operational. Our teams are working around the clock to ensure your deliveries continue safely.

DOWNLOAD THE APP


Customer Services
Copyright © 2025 Desertcart Holdings Limited
DOWNLOAD THE APP

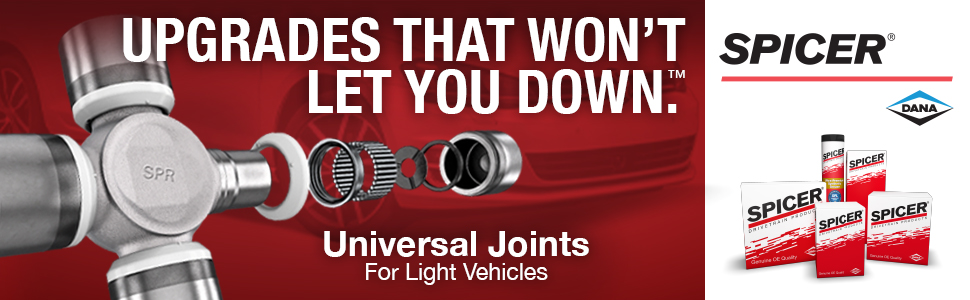
⚙️ Upgrade your drivetrain with precision-engineered reliability!
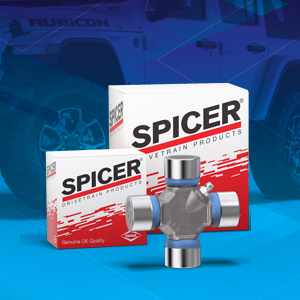
The Spicer 5-1410X U-Joint Kit is a genuine OE replacement part featuring a non-greaseable design with outside snap rings for easy installation. With precise 1.188-inch bearing caps and a 4.188-inch overall dimension, it delivers durable, maintenance-free performance engineered to meet exact OEM standards.


| Brand | Spicer |
| Item Thickness | 1.61 Meters |
| Shape | Round |
| UPC | 023913121167 |
| Manufacturer | Spicer |
| Global Trade Identification Number | 00023913121167 |
| Model | 5-1410X |
| Item Weight | 1.75 pounds |
| Product Dimensions | 4.3 x 4.1 x 1.5 inches |
| Item model number | 5-1410X |
| Is Discontinued By Manufacturer | No |
| Exterior | Polished |
| Manufacturer Part Number | 5-1410X |
| OEM Part Number | 1410X |
A**N
Perfect fit, fast delivery, SPICER #1
Not much bad to say about these non greaseable sealed U Joints. The original sealed spicer U joints lasted 220,000 miles. I replaced all 3 after hearing some whirling noise coming from Carrier/center bearing. Replaced that too! I like that they had many extra clips packed with them of what looked like slightly different thicknesses and spring tension. The joints pressed in nice and snug and felt very smooth and solid after installation. Nice and quiet ride after getting my truck up to 75 mph on a smooth freeway drive.
A**R
Excellent quality product
Great fit and finish. Best seal design on a u joints I have used.
B**P
2005 Ford F-250 Crew Cab 4x4.
Replaced all 3 in the driveline, good fit and finish. You do have to have a little bit of mechanical aptitude in order to do this job yourself OR watch a few You Tube videos on the subject. In my case these plus a new carrier bearing eliminated driveline vibration that has plagued my truck for years.
H**D
A little install help from a professional.
Factory quality! DO NOT ADD GREASE! The grease that is in them from the factory is sufficient and carefully placed, for proper lubrication. Insure your caps are completely snapped on to the collar and the joint pivots freely and smoothly once installed! A little tap on the end cap in either direction will help relieve some of the preload on the end cap bearings. This is a little tricky on the rear joint once you install it, but the key there is to make sure the yoke is completely free of rust and debris. One little piece of dirt between the cap and yoke is enough to through the torque off, as it wont sit square, and once the dirt moves or deteriorates over time, the strap bolts will take up that slack and loosen below the required torque to keep the caps from free spinning. Sounds ridiculous, but it happens! You're dealing with micrometers, and the average size of one spec of dirt is larger than the free play clearance of the cap bearings. Over time, this will begin to wear into the straps and yoke. Thereby, decreasing the preload even further on the straps and bearings, causing catastrophic failure. Take the time to do it right the first time. Secondly, take the extra time to make sure your cap retaining yokes on the driveshaft are completely free of any rust or dirt. Clean the clip grooves out and use an Emory cloth or Emory paper (fine grit) to polish the insides of the yokes before attempting to knock or press the caps in place, being VERY careful not to remove but just the surface imperfections. IT WONT TAKE MUCH!! Keep in mind, the caps should NOT slide in freely. If they do, your yoke will need to be replaced or you have the wrong u-joints. If they slide in freely, they WILL FAIL being there isn't sufficient holding force to keep the end caps from walking and turning against the strap and yoke, quickly wearing into both parts. To choose the correct clips, install one set, gently tap the caps in either direction finding the “sweet spot” in the joint movement. The joint should be able to be moved by hand with approximately 4-5 pounds of pressure. If the joint moves freely, go up to the next size of clips. If the joint can’t be moved even after taping on the caps in both directions, then go down a size to prevent premature wear on the bearings and cap inner urethane bushings. After all this is said and done, and you have your joints installed. Use brake clean to clean the ends of the caps and retaining clips. Dry thoroughly with compressed air. Clean once more. Dry once more. Spray paint the ends of the caps allowing the paint to run slightly into the clip grooves. This will help seal out moisture, keep corrosion at bay, and help keep the clips in place and keep them from turning. Allow this paint to flash for ten minutes and then hit it with another heavy coat, being mindful not to overspray onto the u-joint seals. Painting the seals, or spraying them with petroleum distillates such as WD, will cause rapid premature failure. Hope this helps someone out there in DIY land! Now get in, hold your left hand out the window, point your index finger up, and then point it forward, point it back up and then forward again in quick succession. Keep that skinny pedal on the right down, your rig between the ditches and I'm east bound and down! Cheers!!
W**5
Quality U-Joints
3 needed for double cardan joint rebuild on a 2013 Ram 2500. For the money, these cannot be beat.
M**I
It does fit. Wrong fitment information
It's says this item doesn't fit 2007 Armada. But it does, after going through several wrong parts. This was the exact size and Brand that is used. It fit like a glove. You coukd be costing yourself customers with this wrong info.
B**E
Oem quality parts
Oem quality parts for an outstanding price. Installed on 2005 dodge ram 2500 diesel, one piece rear drive shaft.
E**Y
F350
Fit my 2003 F350 7.3 CCLB 4x4
Trustpilot
5 days ago
2 weeks ago