


🌟 Light Up Your Game Nights!
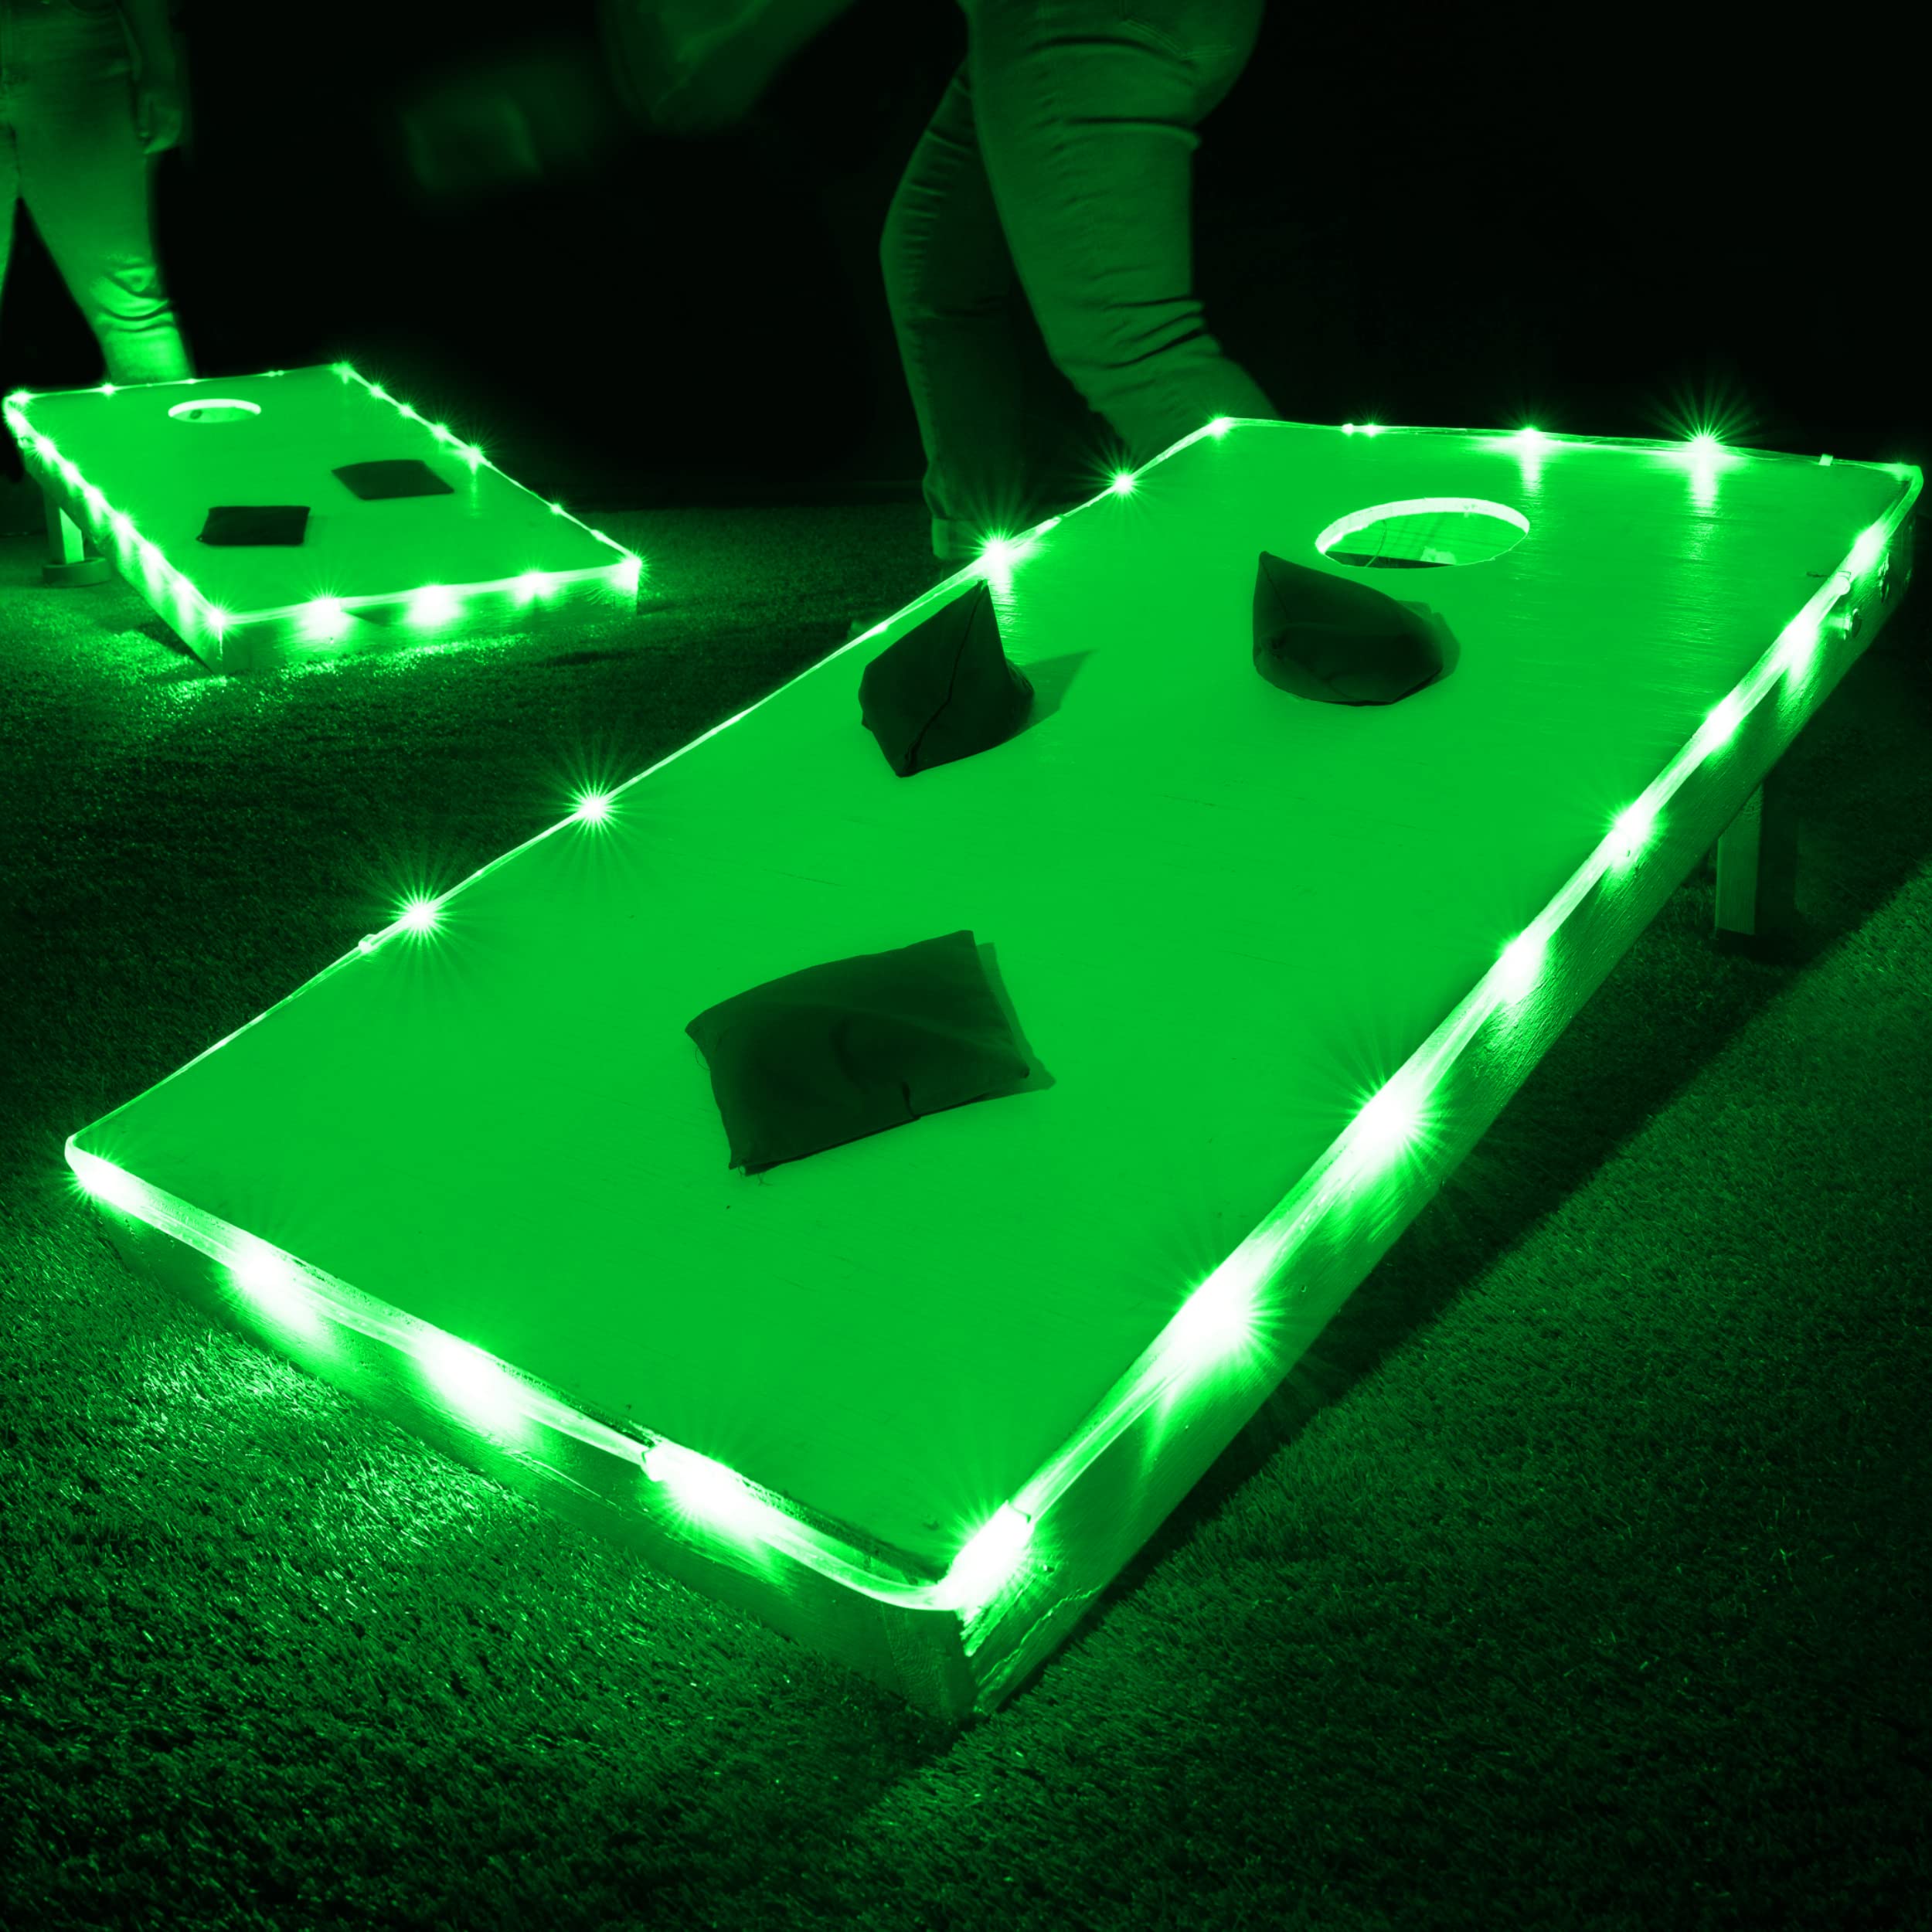
The BrightzTossBrightz LED Cornhole Lights set enhances your cornhole experience by illuminating the edges and holes of two boards with vibrant, waterproof LED lights. Designed for easy installation and durability, these lights are perfect for any outdoor gathering, ensuring the fun continues long after sunset.
K**N
Yep. Green Instructions Clarified in Review!!
There could be A LOT more bulbs, like double the amount, in the strings, and the allotted lights for the board holes was 1/2 the length needed for our standard boards. They lit up the boards slightly more than half of the advertised amount, which led us to believe the boards would be LIT UP brightly, so that was a bummer. Also, the instructions were completely inadequate & it took two people an hour and 15 mins. to attach them, mostly because the screws & nails were the tiniest ever seen & instructions were super vague/non-existent in many ways. We had to figure out placement by looking at the box. (I know... it's NOT ROCKET SCIENCE, but STILL, when you have 3 bags of different fasteners it's good to know what goes where, as well as providing install tips, tricks and placement help...or just Lego Label the bags!) Anyway, for some reason that is entirely unexplainable, the tiny screws that were used to attach the short string around the ring were swapped out with even tinier nails for the longer 4-edge lighting, so get a small Phillips head & even smaller hammer ready...and 6 AA Batteries as well...OH, and 2 florescent stickers, pencil eraser sized. Trust me! Keep on reading...I will get to explaining.If you do buy these lights, here are some instructions help both the Rocket & Non-Rocket Scientists.Promised explanation stars, NOW: Start by flipping the boards over & inserting 3 AA batteries into the black boxes attached to the light strings. Close the boxes & attach them to the boards with the black metal rectangles that come in their own bag, and which were not explained in the instructions, using a Philips head screwdriver. We installed the boxes halfway between the hole & side of the board/towards the foot that props up the top of the board. There is enough wire to do so & this will keep the box both accessible & safe from getting bumped around/knocked off. It also kept the wires out of the way of the collapsible feet on our boards. Next, TURN ON THE LIGHTS with the round, black button on the battery box (near top left corner which you WILL want to remember when it's dark out & are trying to find a black-on-black, flush, pencil eraser sized button or if you are classically aged like me...OR, remember the florescent stickers? This is where they go. Put a bright florescent sticker on each of the battery pack buttons & save yourself the feel around!Now, take a minute to fully unwrap the lights and pull them straight, working out kinks & getting the rubber slightly maliable; slightly being the best you can hope for. While still on the BACK of the board, run the short strand of lights (attached to the box/long lights) around the top half of the hole, as close to the inside edge of the hole as possible without blocking the it. Use the white fastners (3 provided per board), itty bitty screws, and handy dandy Phillips Head. TIP: Tiny screws are squirrelly, squirmy buggers! To get them started & avoid the slips, hold the screw between 2 fingers, tap the screw head (top) a couple times with the handle of the screwdriver which helps get the screw seated, then flip the screwdriver to the business end and finish screwing the screw in.Next, flip over the board to the FRONT side to be sure the lights can be seen & hole is clear. Adjust as necessary, which allows you more quality time with those wee screws. (We chose to use the "half-needed amount of lights" around the top of the hole to avoid backlighting the hole into shadow...again, not in instructions.)Moving onto the long strand & (odd) change to fastners with nails...lay the board on it's side and start attaching lights to the thin side wall of the board...NOT the top (this will interfere with game play & lead to loads of lands that clearly should have shuffled off the top of the board's buffalo) OR underneath the board (lights won't be seen, but the ground will surely look cool). You will space fastners out to have 4-5 per long side & 2-3 per short side. (Good news! Ample fasteners are included!) Start at one end, attach a fastner, go to the opposite end, attach a fastner, find the halfway point, attach a fastner, then install 2 more fastners between the middle and each corner on the same side. Definitely don't try attaching 1 corner and working consecutively along to the opposite corner. The rubber is pretty stiff and wants to roll off when you first start a side, so the "end-end-middle-in between" technique WILL save you time. Also, start at the corner nearest the battery pack, flipping the board on it's long side or short end as you go.The corners will want to roll on top of under the board. This is where the stretching out from earlier comes into play. When going around a corner, your now kink-free, malleable wire will allow you to pull it TAUGHTLY around, placing the 1st fastner of the new side immediately. This is a great time to get those extra hands or a clip to hold the wire down snuggly, allowing you to master the wee nail. Continue around adding fasters and wee nails until you are back to the start again.We ended up with an extra 3" of wire at the end (not enough to reach/finish the hole), so we just used some paper tape (out of our wee friends & fasters) to adhere the extra length under the board & enjoyed the green night grass.And that's that...All that remains is to set up your boards outside, when its getting dark, press the now easily located irridescent button AND...prepare to be underwhelmed.Happy Holing, one and all!
P**T
Bright Lights in a Small Town
I make custom Cornhole boards in a small town in the Midwest. There's nothing we like to do more around here than to have a few cold beers on a warm summer night and play a few rounds of Cornhole. These lights make it a heck of a lot easier! Attaching the lights to the board was quick and easy. And they are super bright! I'm really pleased with this product.
A**R
Fits good
I like the fit and brightness it could have came with a few more clips to attach the lights. Local store had some.
S**G
Check lights
Overall good. Had 2 light bulbs that was out
Z**H
Just like the discriptiob
My boards are 2x3 boards. The lights were easy to install, and look just like the picture in the description. I used glue for the power box, and the hole lights because the wood was too thin for screws. I would recommend them for nights games.
J**N
These are great for playing at night and easily installed.
This was purchased to replace one that never worked right and finally quit working all together. These are bright and the installation is easy. The bracket to attach the battery pack is a nice touch our old set did not have. I have never had any luck with the strands that change colors.
T**N
If your board stay in one place not a bad system.
I move my boards around a lot..slide around in the back of my truck...I chose not to mount the edge light on the outside, because its just plastic clips holding them on...so I attached them underneath. you culd probably get by with a set of hole lights with similar affect.
T**G
Good but
Good but a couple more more lights would be better, maybe twice as many. Also, I mounted the batter box to the bottom side of the top. When a bag fits the board kinda hard, like it does a lot, the lights go out. Every couple bags, I have to reach through the hole and turn them back on. I’m gonna try to move the battery box to the 2x4 frame instead to see if it’s better.
A**L
Great lights
Look great however the purple aren’t as purplee as I thought they looked on the pictures but still look great.
R**B
They're just okay
Colors are bright and work well but the hardware that comes with it's not the best when the bags hit the boards the hard ware starts to pop up out of the wood .
W**D
Orange looks like Red to me
Great and easy install. Only issue is, I ordered orange and it seems like I got Red. The box it came in was Orange in color. Most likely going to look to change it out because the Red is too dark. Figured Orange would be bright enough, but not too over powering.
J**D
Nice lights
I really like the old lights they had before only because these are not as bright as them ones! But the electronics on these are great
M**D
Love them
Perfect for all the way around. The inner hole lights didn’t fit. Lights up beautifully.
N**E
Welcome gift
Received as nice gift to Corn Hole players in the family.
C**N
Highly recommend
Great addition to our boards!! Allows us to play well into the night!!!
Trustpilot
2 months ago
2 months ago