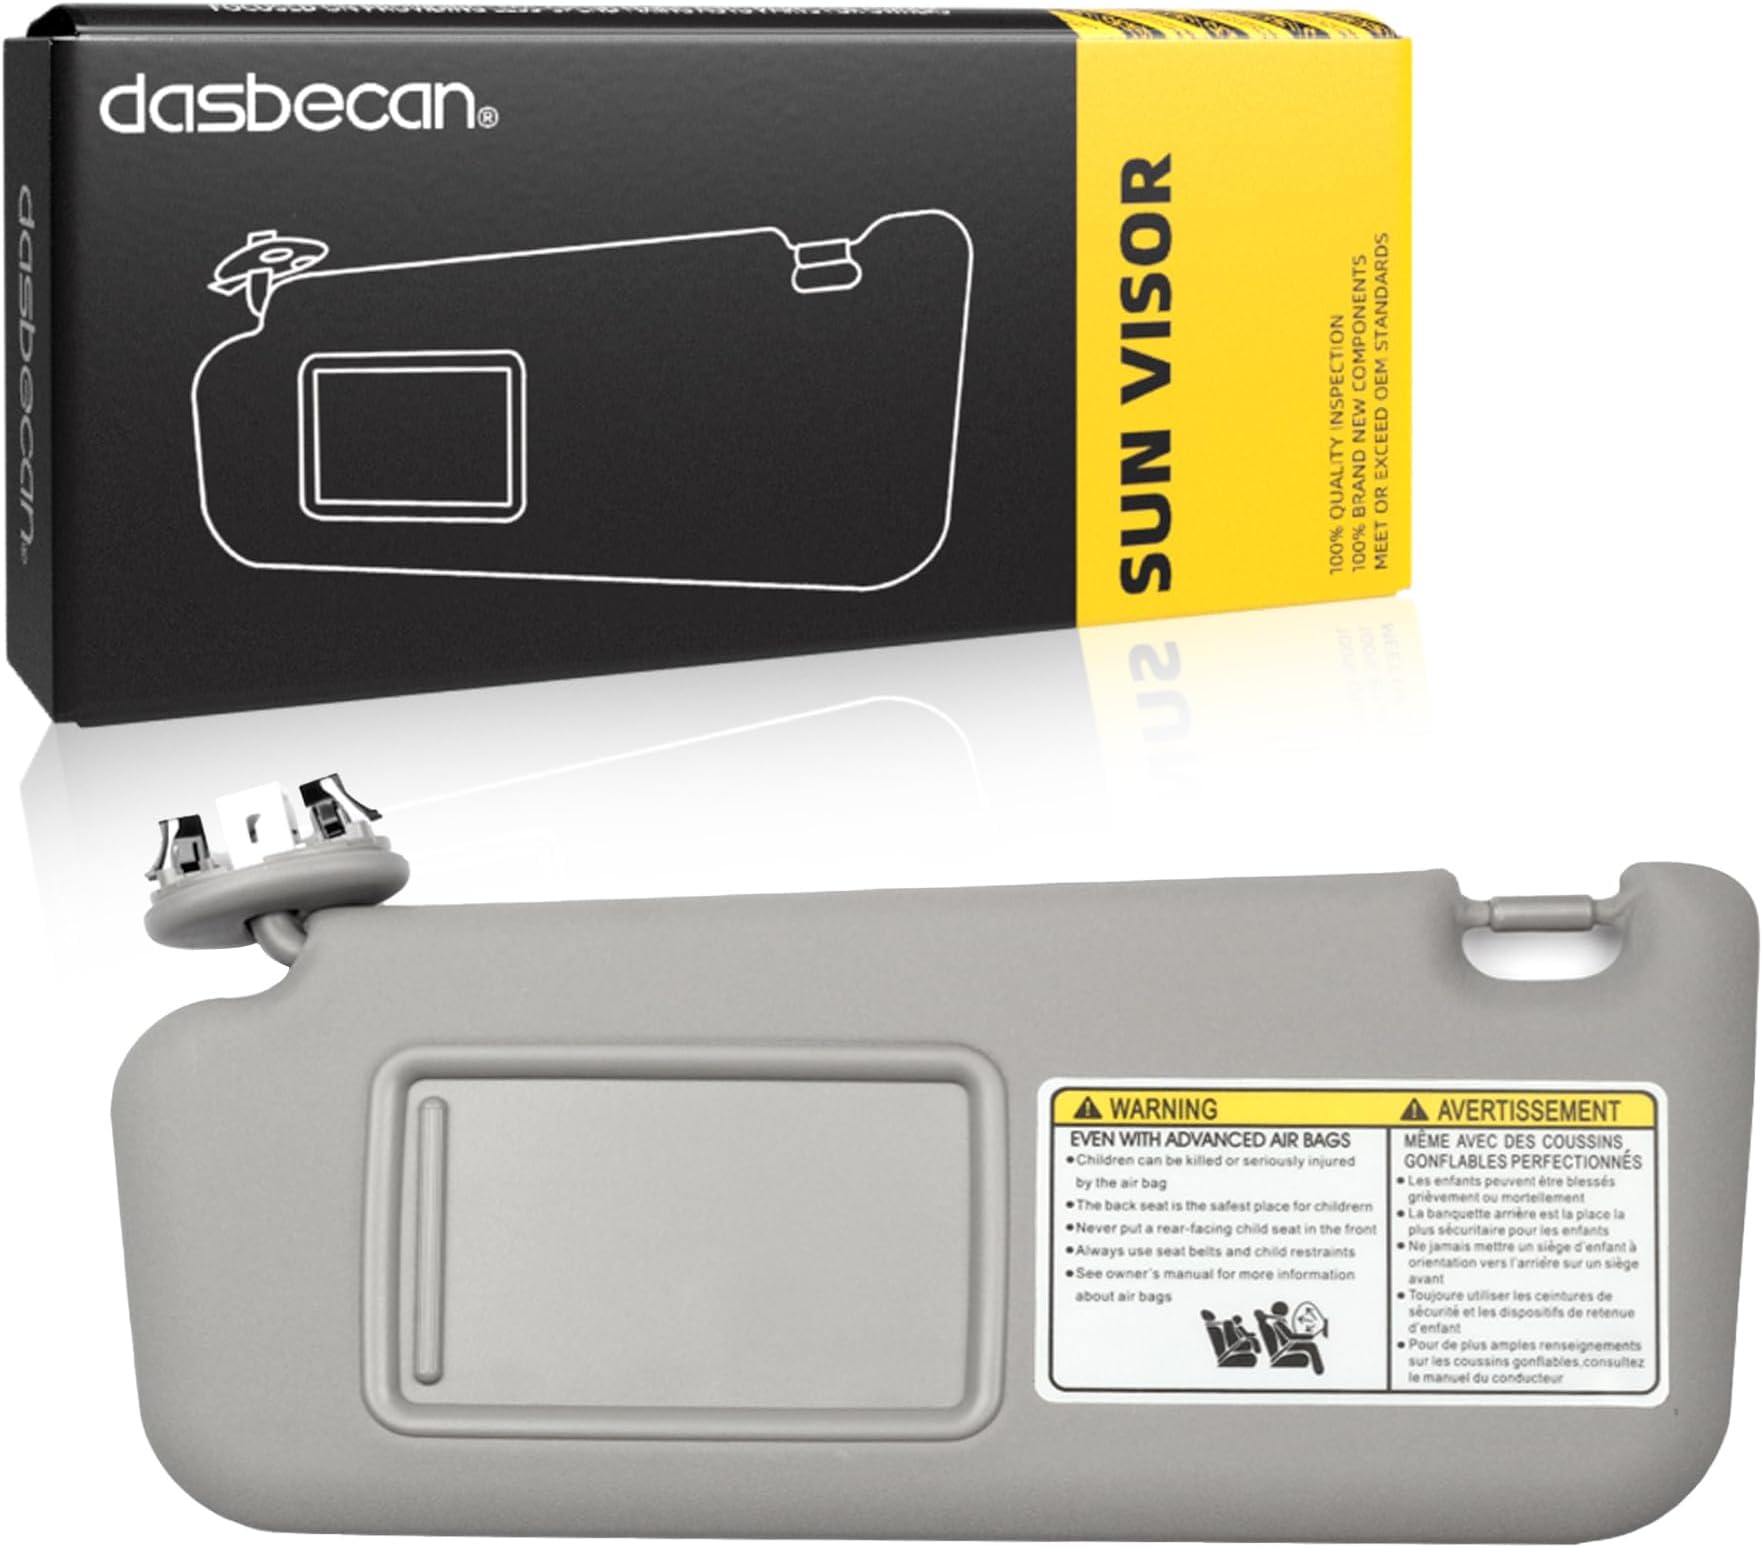
Description
☀️ Drive Bright, Shade Right — Upgrade Your RAV4’s Style & Comfort!
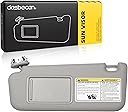
- PERFECT OEM MATCH - Seamlessly replaces original Toyota RAV4 sun visor (2006-2013) with exact fit and finish.
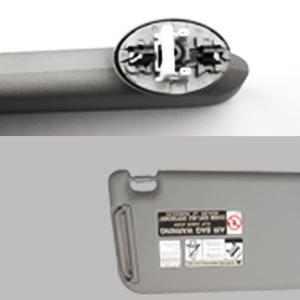
- EFFORTLESS INSTALLATION - Clip-on design with dual clip options ensures quick, tool-free replacement in minutes.
- VANITY LIGHT COMPATIBLE - Supports built-in vanity light function for added convenience on compatible RAV4 models.
- PREMIUM COMFORT MATERIAL - Crafted from soft, high-quality fabric that’s easy to clean and gentle to the touch.
- ALL AROUND SUN PROTECTION - Effectively shields driver and passenger from harsh sunlight, reducing glare and enhancing safety.
The Dasbecan Sun Visor is a direct OEM replacement designed specifically for Toyota RAV4 models from 2006 to 2013. Made from premium soft materials, it offers superior sun-blocking performance and comfort. Featuring dual clip compatibility and easy installation, it restores your vehicle’s original functionality, including vanity light support where applicable. Elevate your driving experience with this durable, perfectly fitting sun visor.