


🌿 Mow Less, Live More: Your lawn's new best friend!
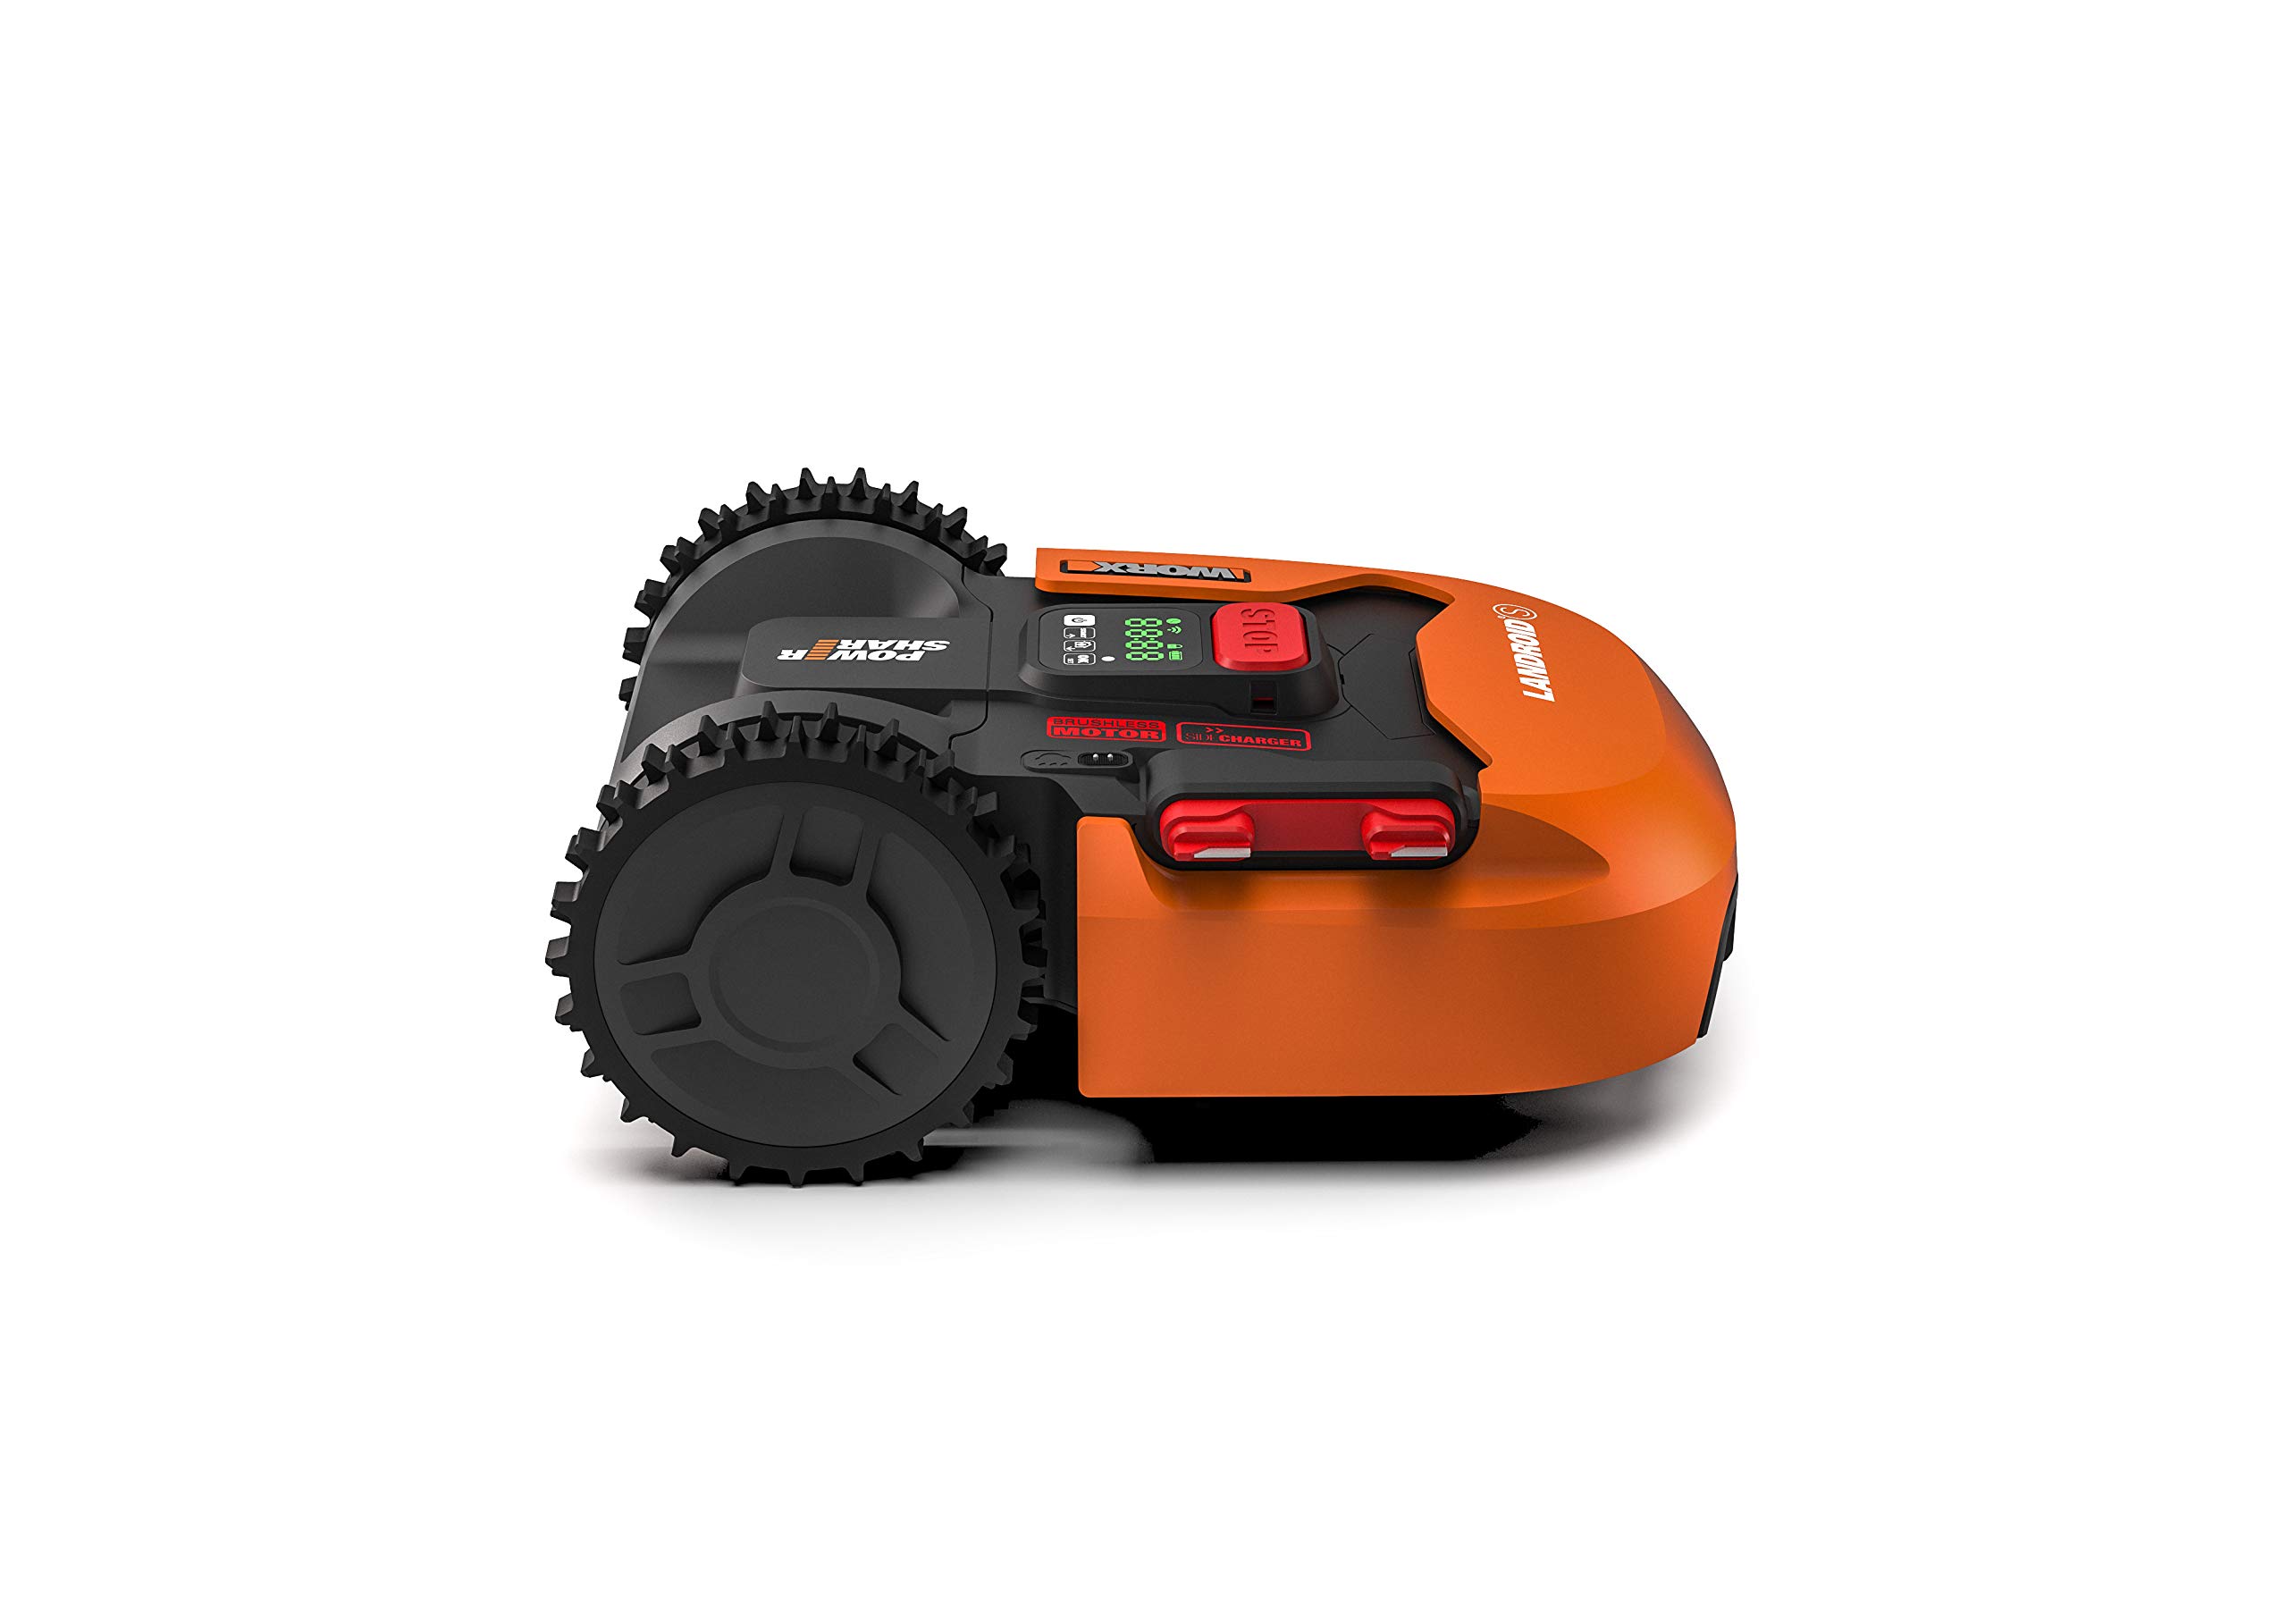
The WORX Landroid S WR130E is an advanced robotic lawn mower designed for small gardens up to 300m². It features automatic scheduling, WiFi connectivity for remote control via an app, and intelligent AIA technology for faster and more efficient mowing. With adjustable cutting heights from 20-50mm and a cutting width of 180mm, it ensures a pristine lawn with minimal effort.
L**Y
Set this up correctly, and you'll never have to mow the lawn again!
The media could not be loaded. Ok, let’s get one thing straight, I hate gardening, mowing watering pruning…. all of it. So when I saw this little robotic mower it almost seemed too good to be true, and despite being thankful for all the reviews written so far, I still felt like I was taking a gamble by deciding to purchase such an expensive gadget.I’m so glad I did!It works perfectly. It’s really, really good. Smart as well, rain sensors, upgradable extra modules, intuitive smartphone app, pin code and anti-theft lock options to mention but a few. It's also whisper quiet. My lawn's less than ten feet from my bedroom and I can barely hear it with the windows wide open.The only significant downside is that it does take a lot of work to install correctly - and if you want to take full advantage of this machine, at the serious geek level, then wi-fi coverage of your lawn will be required, well…. at least to the charging station anyway.But, before you go out and grab one for yourself right now, there are a few considerations to mull over first. Namely choosing which model will best suit your requirements/meet your expectations, and also a clear understanding of exactly what’s involved in setting up these Worx Landroids correctly - as cutting corners on the latter, no pun intended, will surely end in disappointment. So if the extent of works described in the procedure below seem a little too onerous for your tastes, then I’d suggest not buying one of these machines.Before going into further detail regarding the setup side of things, it’s worth mentioning that whilst the WR130 s300 model will cut the lawn perimeter, being guided by the supplied guide wire (more on this later). The WR130 doesn’t have the ‘cut to edge’ function of the WR142e model. So if your garden is bordered by flagstones, bricks or any surface at the same height of your lawn, and is under 300 sq/m, then don’t bother with the much more expensive WR142e model and save yourself £300 as this far cheaper model will straddle the lawn and any adjacent same-height surface thus cutting the entire lawn border just fine. If, however, your garden has walled perimeters, raised beds, or sunken beds of a dissimilar height to the lawn (i.e. more than 15mm), then the offset mowing deck of the WR142e, and its cut to edge function, is something you may want to consider opting for as the WR130e won’t cut closer than circa 50mm to any vertical or sunken lawn border.Trying to get around this by setting the WR130’s guide wires closer to the edge than is recommended simply won’t work. If a close cut to the edge is of paramount importance, then you’ll have to shell out the extra cash for the WR142eNow… to the setup; it’s really important to take the time to do this bit properly as anything short of a precise installation will end in a repeatedly stuck mower, cut wires, or a very expensive orange football and lots of expletives.First step, select suitable charging base location:Install the charging station on flat and level ground, ideally in a place where you can easily supply power to the station (the lead’s quite long so you’ll have some flexibility in this), using the coarse lawn screw supplied to pin it down. It may seem ungainly at first, but bear in mind that the grass will grow through the grid of the charging base and eventually completely hide it from view.Second step: marking out the perimeter.This is important, if the distances set at this stage are incorrect, then things go wrong. I used a line marker spray to set out where I intended to lay the wires, but you could also temporarily and loosely peg out the wire on the lawn's surface before to ensure you're happy with this configuration before committing to a permanent installation as described in the next step. As a basic rule of thumb, you need to set the wire 260mm away from a raised or sunken border, and 100mm away from any border/edge level with your lawn.For internal ninety degree angles, either make the wire follow a gentle curve with a minimum radius of 300mm, or turn it into two forty-five degree angles with a minimum length between each other of 300mm. External ninety degree angles are clearly illustrated in the book, but only necessary for a perimeter cut. In my case, I opted for a 300mm curve instead.It’s worth pointing out that on the internal ninety degree corners, there’s always going to be a little tuft of grass at the apex which won’t be cut, no matter how diligently you set the wires.Third step, securing the perimeter wires:the instructions suggest clipping it on the lawn surface every 800mm with the pins provided - save yourself the heartache at this point and take the more difficult but ultimately worthwhile option of burying them - as well as pinning them. It doesn’t need to be much, just use a spade to open a slit in the lawn, push the wire down by 10mm or so, pin it every 800mm, and at the start, apex and end of any curve.Fourth step; connection of perimeter wires, operatio,n and a well-earned gin & tonic:I won’t go into too much detail here as the app is pretty much self-explanatory and related instructions unambiguous.One final word of warning: when selecting the mowing height on the rotary dial, it’s the number that’s nearest to the ground which indicates the setting selected. I made the mistake of accidentally lowering the mower deck to 20mm instead of 50mm - and came back a few moments later to find some very interesting patterns in the lawn. Fortunately any evidence of my stupidity has long since grown out.In conclusion, if you’re prepared to work hard in the short term, then these machines are a great way to be lazy in the long term.
D**N
How it worked out for me
I bought this to replace a broken robomow cut to edge. I was really worried I'd have to spend time replacing the boundary wire but the old one works fine. It not the same layout on corners as the robomow but it working fine. If you set to do perimeter edge cut it will not cut around an island. There is a trick though. Pick it up, point it to the island and start mowing. It will complain about being picked up etc but you can clear that warning. Once it starts mowing send it home, I find it easier to use the app for that. It will circle round the island cutting to edge once then move away to find the way back home. I don't have a hugely complicated lawn but do have an island with a narrow gap about 1 metre which it navigates surprising well. I have absolutely no complaints. I bought this to replace an old robomow RC model. It performs better on narrow corridors, has a better traction such that wheels don't churn damaging the grass as much, works with the previous boundary wire and was cheaper. So far extremely happy with the purchase
C**K
Brilliant purchase
EDITED:Review below still stands but I’m knocking one star off because there is a problem I don’t like. I have had to cordon off a small are of my garden but I tell you this robot mower doesn’t accept no for an answer. When it comes up against an obstacle from an angle (not head on as that seems ok) it repeatedly tries to edge its way into the obstacle, not once, not twice, but 5 times but 7 or more times it repeatedly turns towards the obstacle trying to get past, churning up the ground as the wheel spins and damaging the paintwork of the robot and scratching along the obstacle as it doesn’t give up. This is a really annoying flaw in the software and needs to be fixed. Maybe try once or twice but at that point, TURN AWAY from the obstacle and get on with mowing please. When Worx fix this I’ll reinstate the 5 stars but for now I need to reseed the area of the grass that it’s messed up.Just a short review to say that this robot mower is fantastic. Main points: Setting up is easy although laying the boundary wire takes time if you have lots of corners and obstacles etc. It took me quite a few hours to get it inch perfect. Bear in mind that there will be a couple of inches at the edge of a wall or obstacle that the mower won’t reach but a little manual trimming each week is a price worth paying for the convenience of not having to mow the main lawn. You’ll want to be sending the mower out pretty much every day so as to keep the lawn neat. Yes the mower mows randomly but honestly this isn’t a problem. The only thing is that occasionally it misses a clump of grass but tends to pick this up the next time it moves. The mower can definitely mow longer grass but you won’t want it to because the blades left behind sit on top of the grass. Instead, you’ll want the mower to be mowing once a day or every other day so that it cuts off tiny pieces which fall to the roots and mulch quickly. These little grass cuttings are not sticking to shoes or ending up in the house. Having no grass clippings to get rid of is brilliant! The best part about this mower is that you end up just sitting there watching it go about its routine, very therapeutic. Also the grass has never looked better, the weeds don’t appear to get a chance to pop up as they get hacked back every day. I did lay a new lawn with good quality seed so that probably helped but I’m convinced that this mower will keep it looking good. You do tend to get a wheel track line around the edge after it’s done its edge routine and you do get vague cross cross patterns in the grass where the wheels have been but actually it looks quite a nice effect. The app is really simple to use although if you pick the mower up and put it back on the station manually (happened a lot at the beginning when I was testing the wire placement) you get an annoying ‘wire missing’ error, and I recall it being a bit of a random fix to get rid of that message. The mower deals with slopes well and easily gets itself out of a sticky situation. Sometimes the wheels spin a little while turning on a slope but again it tends to sort itself out. After having the mower for a few weeks I would highly recommend getting one. Not sure what went wrong in my life to new get so excited about watching grass grow and then being cut by a plastic machine but there you go. 5 stars from me.
Trustpilot
2 weeks ago
2 months ago